Precompositions
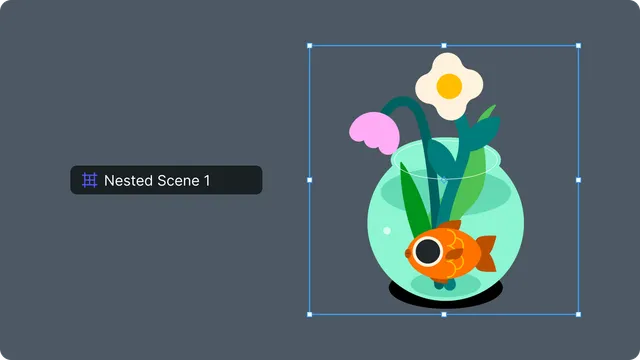
Precompositions (precomps) are self-contained nested scenes that help you organize complex animations, create reusable components, and build hierarchical projects.
What are precompositions?
A precomposition is a composition nested within another composition.
Precomp fundamentals:
- •Precomposition Asset — the actual nested scene (lives in assets)
- •Precomposition Layer — reference to the asset (lives in timeline)
- •One asset can be used by multiple layers (instances)
Why use precompositions:
- •Organization: Break complex scenes into manageable pieces
- •Reusability: Create once, use multiple times
- •Isolation: Animation independent from parent
- •Performance: Organize logically for easier editing
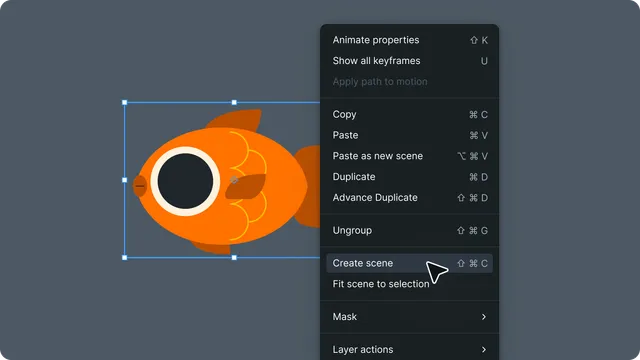
Creating precompositions
Select layers in timeline/outliner
Right-click → Create Scene (or shift + cmd/ctrl + c)
The selected layers are moved into a new precomp
A precomposition layer is created at their position
Precomp properties
Standard properties:
- •Transform (position, rotation, scale, opacity)
- •Blend mode
- •Visibility and lock state
- •Parent (can be parented to other layers)
Precomp-specific:
- •Precomp Size — width and height of nested scene
- •Bounds Mode — Scene bounds vs fit to content
- •Referenced Asset — which precomp asset it uses
Bounds modes
Scene Bounds (Default):
- •Bounding box matches full scene size
- •Consistent dimensions regardless of content
- •Transform handles at scene edges
Fit to Content:
- •Bounding box wraps visible content tightly
- •Bounds adjust if content changes
- •More efficient for small content in large scene
Working with multiple precomps
Reusing precomps:
Create a Precomposition Asset once
Add multiple Precomposition Layers referencing it
Each instance shares the same content
Edit asset updates all instances
Breaking precompositions:
Select Precomposition Layer
Right-click → Break Scene (or shift + cmd/ctrl + b)
Precomp layers move to parent scene
Precomposition Layer is removed
Precomp timeline
Independent timeline:
- •Each precomp has own timeline duration
- •Own frame rate (typically matches main scene)
- •Independent keyframes and animations
- •Separate work area
Duration management:
- •Define when creating precomp
- •Matches main scene by default
- •Can extend or shorten as needed by dragging from its left or right edges
- •Dark green area shows clipped portion. Light green shows visible duration.
