Layer Types
Lottie Creator supports several layer types, each designed for specific purposes. Understanding layer types helps you choose the right tool for your animation needs.
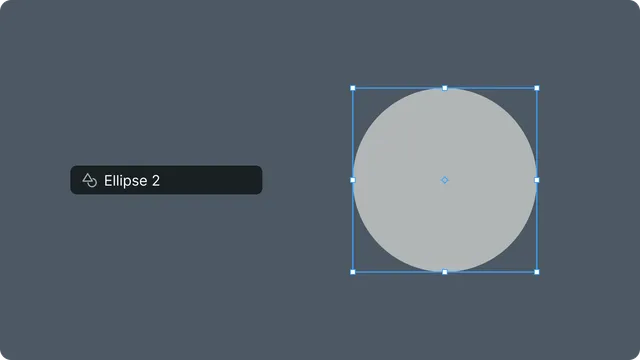
Shape Layers — vector-based layers containing shapes (rectangles, ellipses, paths, stars). Primary building blocks for vector animations.
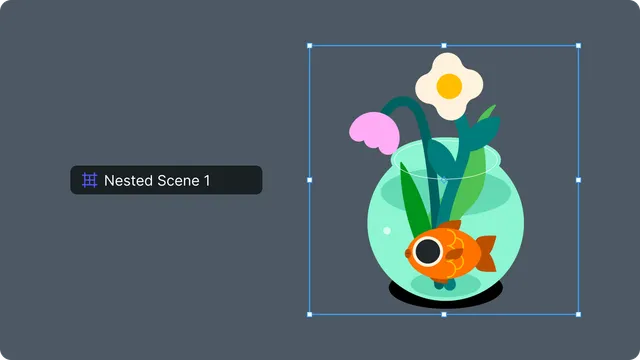
Precomposition Layers — references to nested compositions for organization and reuse. Can be entered for editing (double-click).
Text Layers — layers containing editable text with font, size, alignment, and color properties. Text can be animated and tokenized.
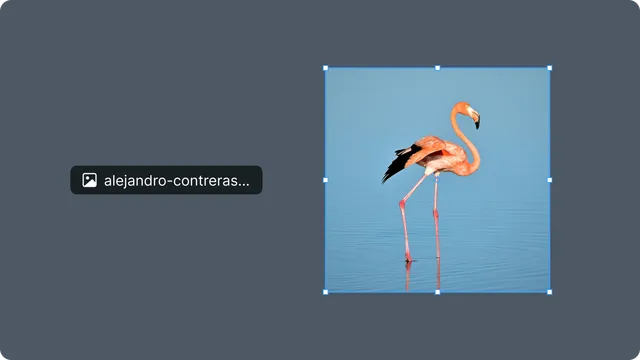
Image Layers — bitmap/raster image assets (PNG, JPG). Cannot edit pixels in Lottie Creator.
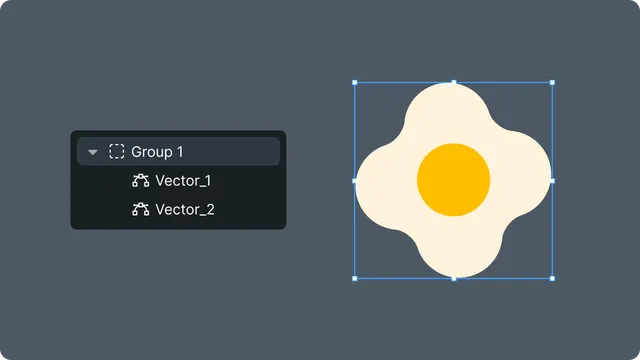
Group Layers — containers for organizing shapes within a shape layer. Not standalone layers.
Shape layers
Shape layers contain one or more vector shapes and their appearance properties (fills, strokes).
Creating shape layers:
Select any shape tool (Rectangle, Ellipse, Pen, etc.)
Draw on the canvas
A shape layer is automatically created containing the shape
Shape layer properties:
- •Transform: Position, rotation, scale, opacity, anchor point
- •Appearance: Fill color (solid or gradient), stroke color, width, and opacity, blend mode
- •Advanced: Track matte settings, parent-child relationships, visibility, lock state
Precomposition layers
Precomposition layers reference nested compositions, enabling scene organization and reusability.
Creating precomp layers:
Select layers in timeline/outliner
Right click, and then select "Create scene"
The selected layers move into a new precomp
A precomp layer is created in their place
Precomp properties:
- •Standard transform properties (position, rotation, scale, opacity)
- •Precomp Size — width and height of nested scene
- •Bounds Mode — Scene bounds vs fit to content
- •Referenced Asset — which precomp asset it uses
Entering/exiting precomps:
- •Precomp layers and scenes can be navigated using tabs above the Timeline
Text layers
Text layers display editable text on the canvas with full control over typography and appearance.
Creating text layers:
Select the Text Tool from the toolbar
Click on the canvas to place a text layer
Type your content
Text layer properties:
- •Content — editable text string
- •Font — font family and weight
- •Size — font size in pixels
- •Alignment — horizontal text alignment (left, center, right)
- •Color — fill color, supports motion tokens
- •Transform — position, rotation, scale, opacity, anchor point
Image layers
Image layers display raster/bitmap images in your animation.
Creating image layers:
Import an image asset to asset library by dragging it onto the canvas from your computer. (Alternatively, click the "Upload Asset" button on the left side bar)
An image layer is created
Limitations:
- •Cannot edit pixels (use external editor)
- •Raster images increase file size
- •Use appropriate resolution
Group layers
Group layers organize multiple shapes within a shape layer.
Creating groups:
Select multiple shapes within a layer
Use the group command (cmd/ctrl + g)
The selected shapes are moved into the new group
Group properties:
- •Transform properties (position, rotation, scale, opacity)
- •Shapes inside inherit group transform
- •Can be nested (groups within groups)
Common layer properties
All layers share these properties:
Transform: Position, rotation, scale, opacity, anchor point
Blend Modes: 16 blend modes available (Normal, Multiply, Screen, Overlay, etc.)
Visibility and Locking: Eye icon toggles visibility, lock icon prevents editing
Draw Order: Lower draw order = rendered on top. Layer 0 is topmost.