Installation
Install LottieFiles in Visual Studio Code, Cursor, or Windsurf and open the extension.
Install the LottieFiles extension from the VS Code Marketplace or from a .vsix package supported by your IDE.
Requirements
Visual Studio Code API version
1.85.0or later.A project or workspace folder for local preview and generated files.
A LottieFiles account for Workspace, CDN, Premium, and Motion System workflows.
Install in Visual Studio Code
Open Extensions.
Search for LottieFiles.
Select the extension published by LottieFiles.
Click Install.
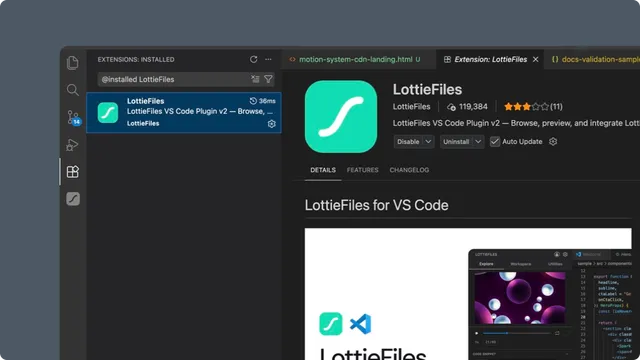
You can also open LottieFiles in the Visual Studio Marketplace.
Install in Cursor or Windsurf
Open the IDE's extension marketplace and search for LottieFiles. If the marketplace listing is not available in the installed IDE version, install the approved .vsix package through its extension menu.
Cursor and Windsurf do not use the same openWalkthrough behavior as VS Code. After installation, the extension opens or focuses the LottieFiles sidebar instead.
Open the extension
Choose the LottieFiles icon in the Activity Bar. The sidebar opens with Explore. Sign in from the account control when you need Workspace or System.
Troubleshooting
The extension is installed but no icon appears - reload the IDE window and check that the extension is enabled for the current workspace.
A
.jsonfile opens as text only - use the LottieFiles preview command or confirm that the JSON is recognized as a Lottie animation.Sign-in does not return to the IDE - finish authentication in the browser, return to the original IDE window, and reopen the sidebar.
The System tab is missing - the feature may not be enabled for the current release or account yet.