Inserting into Webflow
Add the prepared animation as a native Lottie element or advanced dotLottie player.
Select the destination in Webflow before using Insert animation. The source and enabled features determine what the app creates.
Choose the destination
For ordinary Lottie, select an element at the intended canvas insertion point.
For dotLottie v2, themes, multiple animations, or state machines, select a Div block or another element that can contain children.
Avoid selecting text, an image, or another element that cannot accept a child player.
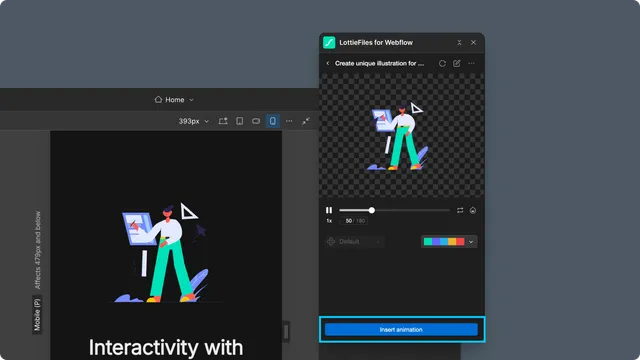
Choose the insertion path
| Prepared source | Webflow result |
| Ordinary Lottie JSON | Webflow Asset and native Lottie element |
| dotLottie without runtime-only features | Selected animation converted to native Lottie JSON when possible |
| dotLottie v2 or active state machine | <dotlottie-wc> element, unique style, thumbnail, and page custom code |
Add the animation
Confirm the intended Webflow element is selected.
Review the prepared animation in LottieFiles.
Select Insert animation.
Locate the result in the page and Navigator.
Apply Webflow classes, size, and responsive layout.
Related
Last updated: October 8, 2026 at 10:45 AMEdit this page