Your first animation
Find a free animation, insert it into Webflow, and verify it on a published site.
Use a simple, single-animation Lottie for this first workflow. It follows Webflow's native Lottie path and avoids custom-code or advanced dotLottie setup.
1. Choose the destination
Open the page where the animation should appear. Add or select a Div block or another suitable page element near the intended location.
2. Find an animation
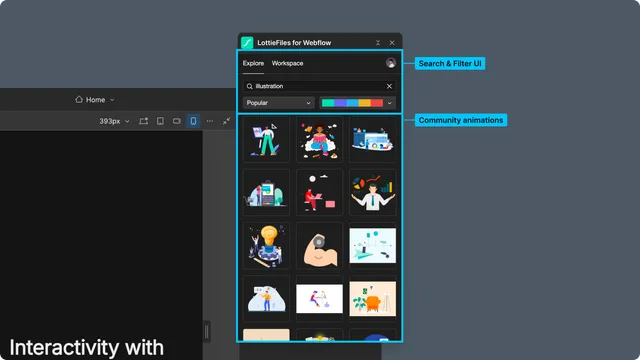
Launch LottieFiles from Apps.
Stay in Explore.
Search by purpose, such as
loading,success, orscroll.Open a free result and play the complete preview.
3. Add it to the page
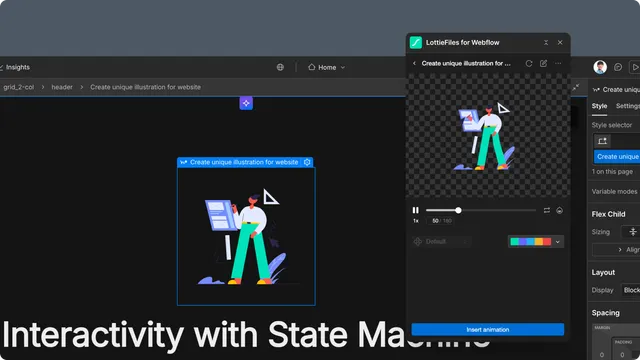
Keep the default renderer, transparent background, loop, and speed for this first test. Confirm the destination element is selected, then select Insert animation.
The app creates a Webflow Asset and inserts a native Lottie element. Locate the new element on the page and in the Navigator, then set its size and layout with Webflow controls.
4. Preview the site
Use Webflow Preview and check the intended breakpoints. Confirm that the animation:
Is visible and not clipped by its parent.
Keeps the expected aspect ratio.
Starts and loops as intended.
Does not block nearby links or controls.
5. Publish and verify
Publish to the webflow.io staging domain first. Open the staging URL in a new browser tab and repeat the playback and responsive checks before publishing to production domains.
See Publishing your site for the production checklist.