Preparing state machines
Preview and select an interactive dotLottie state machine before publishing it in Webflow.
State machines turn a dotLottie file from a fixed timeline into an interactive experience. In Webflow they use an advanced player with page custom code, so the file, container, page, and published runtime all need to agree.
Preview a state machine
Open a dotLottie file that contains state machines.
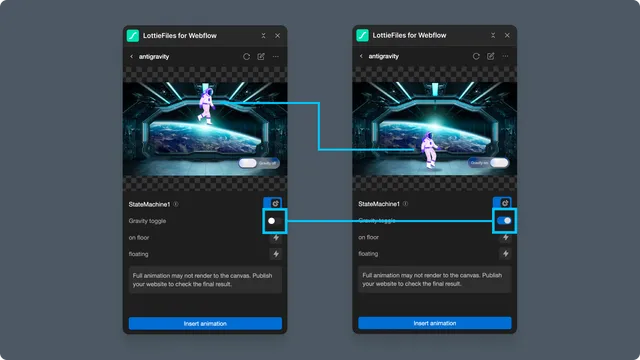
Switch on state-machine mode in the preview.
Choose the intended state machine when the file contains more than one.
Use pointer interactions and exposed inputs to test each important transition.
Restart the state machine before repeating a scenario.
Prepare the page container
Select a Webflow element that can contain children, such as a Div block. The app appends a <dotlottie-wc> player inside that container, assigns a unique style, and adds the page-level script needed to initialize the player.
The design canvas can show a still thumbnail for this element. Test the real state machine in Webflow Preview and on the staging URL.
Production checks
Pointer interactions work with mouse and touch where expected.
The animation does not capture input needed by nearby page controls.
The initial state appears before the first interaction.
Revisiting the page returns to the intended state.
Selected child animations and themes still apply after the state machine starts.